Regarding leaf scanning, or small and flat object scanning in general, I was curious to see whether a thorough photogrammetry scanning would provide any benefit over simpler approaches such as deriving PBR textures from a single photograph or photogrammetry with a small set of photos. The potential benefit of each method has to be balanced with the usage we want to make of the output textures, whether this is for game/real-time of offline rendering, the level of detail we want to achieve and the timeframe we have. Leaves are a bit special as even though in games they are not supposed to be seen from close distance, it can happen that when a third-person camera is under a tree, we can actually see the leaves from very close and the mesh/texturing has not necessarily been thought for this situation.
In this experiment I used the three following techniques:
- T1: PBR textures derived from a single photo using Substance B2M.
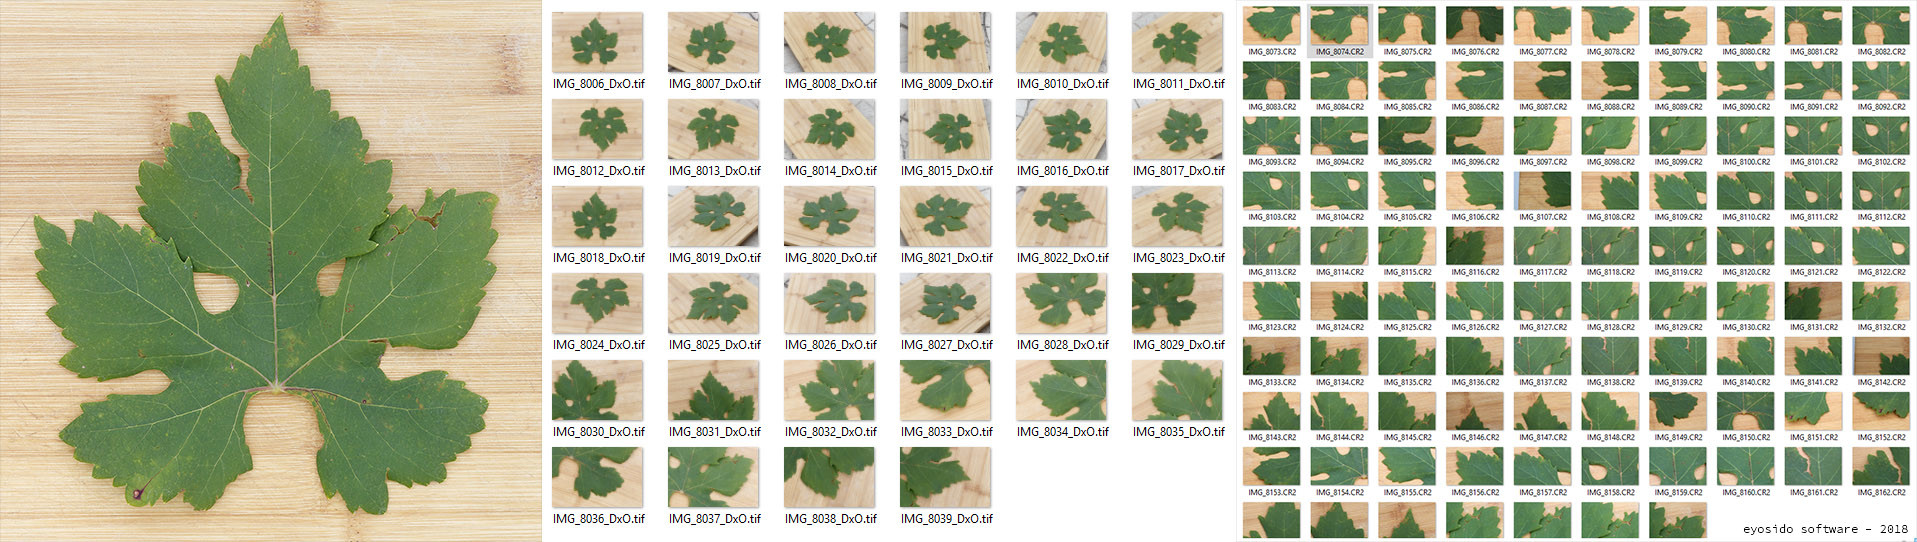
- T2: Photogrammetry with a small set of photos (34) with a few close-up shots.
- T3: Photogrammetry with a larger set of photos (97) with lots of close-up shots.
Setup
I used a Canon EOS 6D camera with a Canon EF 100 mm f/2.8 USM macro lens. Macro lenses are great for small objects close-ups, but they are difficult to manipulate as the movement and depth of field effects are much more present than when shooting at farther distances. I had to find some improvised ways to stabilize my camera and made use of a high shutter speed (1/320 or faster) and relatively small aperture (actually f/8).
For T2 and T3 where photogrammetry is being used, I used Reality Capture for 3D reconstrucion, 3D-Coat to create a low resolution mesh by retopology (this software has dedicated tools for this), Knald for the bakes, Substance Painter and Substance Designer for texture clean-up and processing, Photoshop for mask generation. Marmoset Toolbag was used to preview and render the leaves (with tesselation). I will not describe all the photogrammetry process here, but you can read about it in more details in this article.
I am using 4096x4096 final textures (bakes at 8192x8192) for this experiment . This is obviously very large for a single leaf, but help to see the details in depth for this experiment.
T1 - PBR textures from a single photograph
I took a picture of the vine leaf from top and made it into a 4096x4096 image. Since my camera resolution is slightly smaller than 4096², I had to enlarge the canvas (no image scaling) adding borders. I then processed the image into Substance B2M and outputted the PBR textures. Next, I opened the base color texture into Photoshop to generate a mask (serving as opacity alpha for the leaf shape). The Select/Subject tool is quite handy at getting an early selection, which then needs to be refined with the Quick Selection and Lasso tools. I used ZBrush to derive a mesh from the mask, which was then used in 3D-Coat as reference mesh to build the low resolution mesh by retopology. I also tested creating a mesh from the B2M output height map instead of the mask, but this was not so useful. Indeed this height map has details such as the leaf ribs, but does not contain the overall shape, larger height details of the leaf, which we are mainly interested in when doing retopology. This is because this type of reconstruction is not "real 3D", not every height information can be captured. There may be ways to play with the height map generation settings and get better results though. Therefore the shapes I created in the retopologized model are mainly improvised.
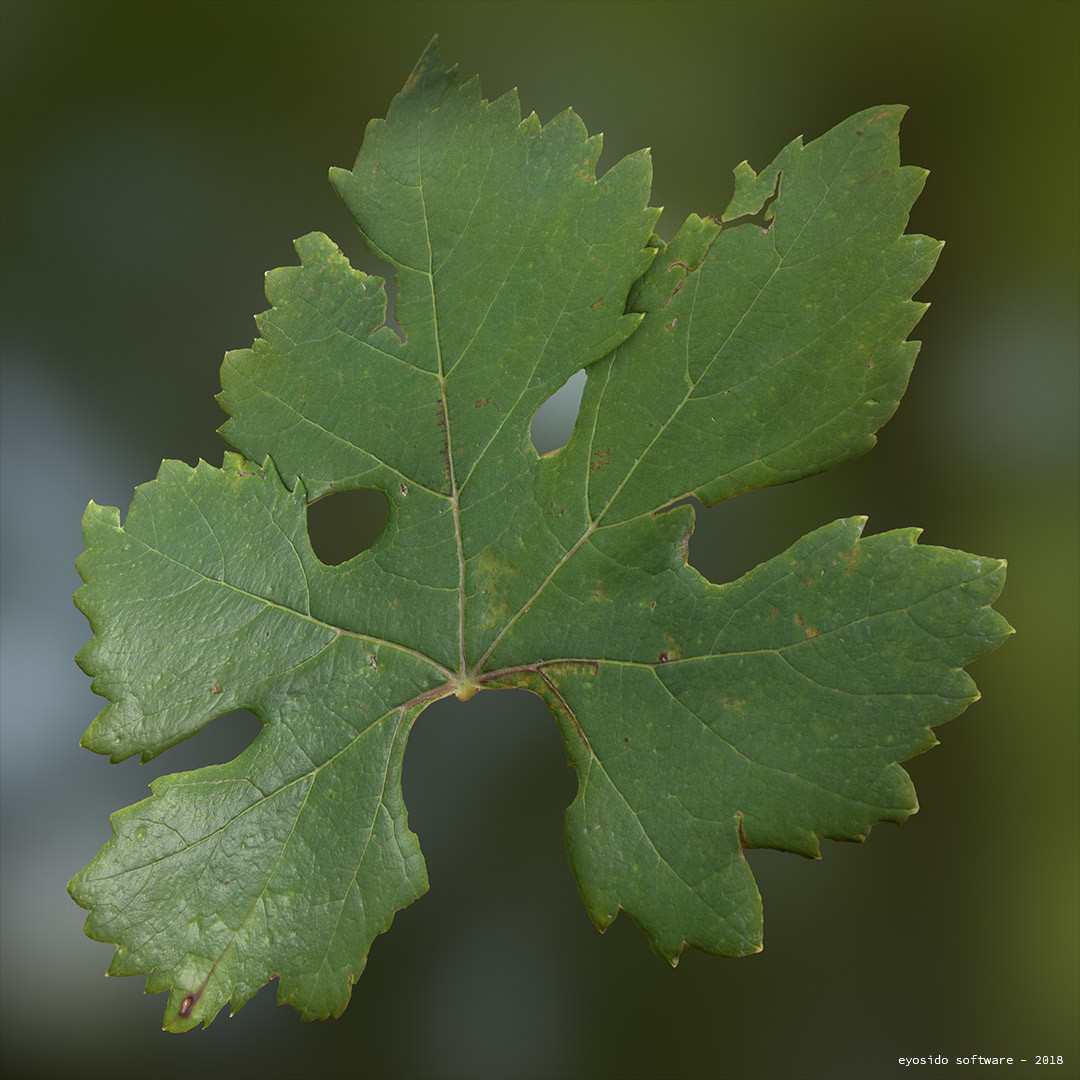
The result look as below in Toolbag:
T2 - Photogrammetry with a small set of photos
For the second experiment, I made a few shots of the leaf by turning around it having the full object in range always plus a few close-up shots. 3D Reconstruction in Reality Capture led to a 23 million polygons mesh which I used for the bake in Knald. I also exported a smaller mesh to use as reference for the retopology in 3D-coat. Before opting for manual retopology, I tried automatic retopology with ZRemesher and Instant Meshes but could not obtain proper results, probably due to the very low poly count target mesh I was aiming at. As opposed to T1, this time I had an actual large scale geometry to base the retopology upon, so the model is more true to the original in that respect. The mesh also enabled the overlap of the top leaf segment over the right-hand one, which was not possible in T1. We can see below that T2 enabled a few more small bumps due to the normal map.

T3 - Photogrammetry with a larget set of photos
This last experiment is supposedly the one that should get the highest quality output. Shots were made close-up as for a surface and the angles were varied to get good height information. Reality Capture generated a high resolution mesh at 118 million polygons that was used for the bake (PLY export is your friend there!). The rest of the processing is similar to T2. In the result, we can see even more small bumps than in T2, the detail of smaller ribs is also visible.

Retopology
Here are the retopologized leaves. T1 was made with no real height guidance. T2 and T3 use the same mesh with actual height guidance from the reference mesh. The mesh for T2 and T3 is about 500 triangles, which is a lot for such a small object. It is of course possible to create LODs and show a much reduced mesh at farther distances.

Comparing close-ups
Let's now compare things at closer camera distance with below images of T1, T2 and T3 respectively.


The base color details between T1 and T2 are very close, T1 is even sharper than T2 in many areas. This is not surprising as T1 is a direct picture whereas T2 is a reconstruction from a few photos and has lost details. However, T2 has better height details and looks less flat than T1. T3 seems more detailed in every aspect than the two other attempts.
Normal map details
Let's look at a close-up of the normal maps (T1,T2,T3):

T1 has detailed ribs while T2 has lost many details in this area. However T2 has more bumps which may be a mix of actual relief and photogrammetry induced noise. T3 has recovered well defined ribs and gets more small relief, probably also a mix of real ones and noise.
Leaves from distance
Since leaves are mostly seen from distance, let's see how they look on a smaller scale with each method (T1,T2,T3):

Conclusion
I will let everyone draw their own conclusions from that experiment (like, it was useless :)), based on what you need to do and how much time you have to do it. Personally I think I will tend to use T1 or T3 depending on cases, but not T2. The latter is on some aspects a regression compared to T1, as the 3D reconstruction has not enough photos to capture all the details of the base color that T1 has. T3 is in my opinion the best looking output, and even though more time consuming to produce than T2, there isn't a huge difference in time spent between the two. T1 is however much faster than the two other methods, and it is probably possible to obtain a better output than I did with this method by spending more time on the low poly mesh and at teaking the B2M settings.